
T-Shirt Printing
It has been ard 1 week i have not written any notes on silk screen printing process. Previously, I've noted on the application of emulsion onto the screen & leave it to dry. 2day i'll be noting on the T-Shirt printing process.
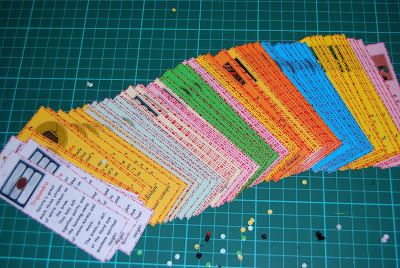
Step 1: Print Your Favourite Design on a A4 Laser Image Film
 Keep all your films in a clear file holder,
everytime when u need them,
there they are ready for u to use
Step 2: Coat your Screen With Emulsion & Exposure the image using Flood Lights (Noted in Previous Tutorial)
 These few day keep on raining, after 4 Hrs with a fan blowing directly on the screens, the emulsion still wasn't 100% dried, I left it alone till the next evening before proceeding to exposing my image. (When emulsion is not dry, there is a strong tacky feeling when touched.)
If you happens to expose your screen b4 the emulsion is completely dried, you will find tat the undried portion will be washed off easily. End up need to start everything all over again.
Step 3: Tape up the sides of the inner screen (Squeegee Side) tat are not covered by the emulsion. Also check for any pin holes. For Pin Holes, cover them with tape from the Outer Screen (paper side).
Step 3: Tape up the sides of the inner screen (Squeegee Side) tat are not covered by the emulsion. Also check for any pin holes. For Pin Holes, cover them with tape from the Outer Screen (paper side).
 Usually with 2 coat on the outside & 2 coat on the inside,
you will not encounter any pin holes @ this point of time.
Step 4: Register your screen on the printing press.
 Make sure image is centralized or 3 finger below the neckline.
For easier estimation, insert a tee as a guide.
Step 5: Apply ard 4 spoons of ink on the screen, make sure the ink is more than enough to cover the whole image comfortably.

Step 6: Without applying any pressure, lightly glide your squeegee over the image. Allow the ink to flood the entire image. Lift up the squeegee & return it to its previous position.
Step 7: Hold your squeegee firmly @ a 60-80 Deg Angle toward you. Pull the squeegee towards you with some pressure (You will need some practise to understand how much pressure is required). After clearing the ink across the image, lift the squeegee with the ink back to the previous position.
Step 8: Flood & Clear the image again (Recommended)
Step 9: Lift up the screen & check the print. Make sure no Pin Hole Spots. Ready for you 2nd Print!!
 Swing the screen to the side, Check your Print!!
 Clean & Neatly Printed!!
 With a correct amount of pressure applied,
there should be no ink left in the image when the screen is lifted up from the t-shirt.
Strange Orders
 120 pcs of Bookmarks for an indian Temple.
 Prom Nite Winner Banner Embroidery
(I dunno wat they call it, but it looks like a banner to mi)
Notes Written by: Tot Chua from HockGiftShop.com
Disclaimer: All the above information is from my personal experience, Do more practise & you will get used to the whole process. Always search thru forums, you can really learn lotsa tips from these discussions. Thank You for reading :)
Disclaimer: All the above information is from my personal experience, Do more practise & you will get used to the whole process. Always search thru forums, you can really learn lotsa tips from these discussions. Thank You for reading :)
No comments:
Post a Comment